Oct 12, 2026Fabric & Printing
How to Prepare Logo Files for Custom Apparel: A Buyer's Checklist
Start a custom apparel enquiry with the logo file you already have — what to send first, how embroidery digitising works, and what to approve before production.
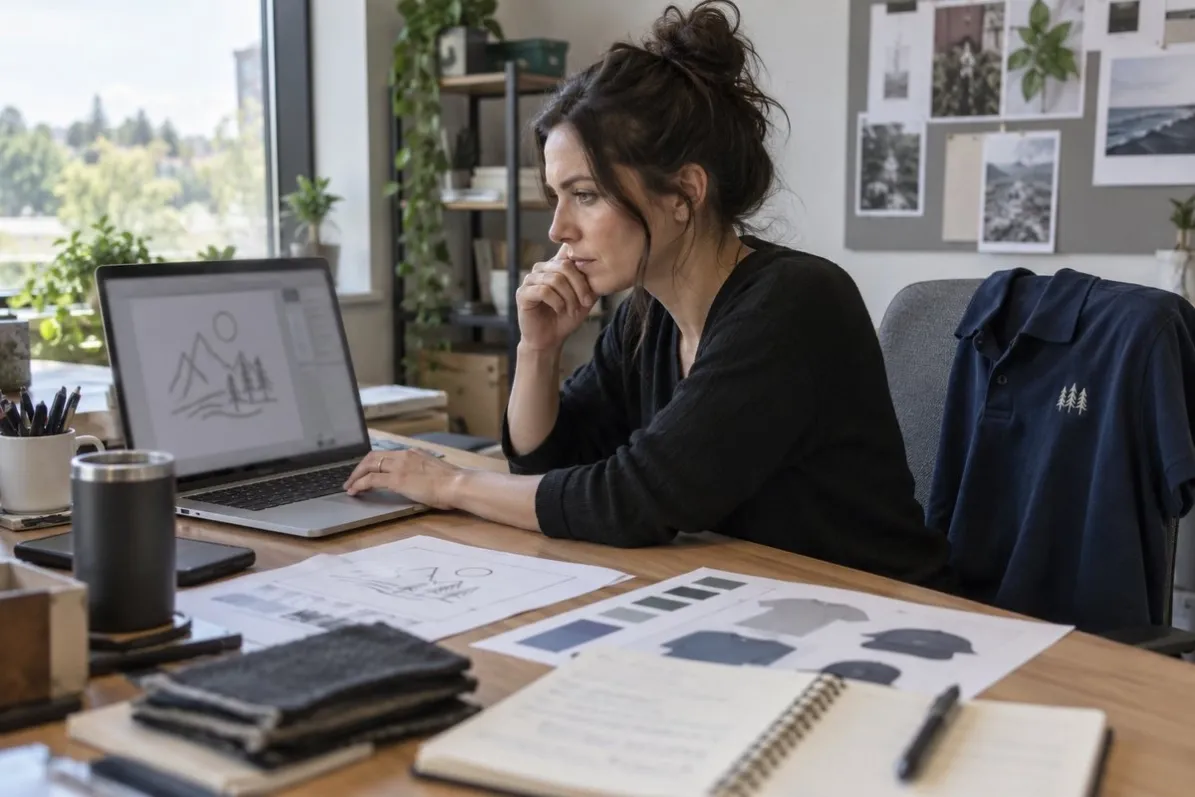
You can start a custom apparel enquiry with the logo file you already have, even if it is only a clear image. Include the garment you have in mind, an estimated quantity, the logo position and the finished size you would like. This gives your supplier a starting point for discussing decoration and pricing.
Before production, the artwork, colours, dimensions and placement need written approval. This checklist separates what helps at the first enquiry from what needs to be confirmed before the order is made.
Below: what to send first, which file types actually matter, how embroidery digitising works, and a copy-and-paste brief you can fill in five minutes.
Table of contents
1. What to send for an initial quote
2. Vector files, images and PDFs: what the supplier checks
3. Why embroidery needs digitising
4. How to specify logo size, placement and colour
5. What to approve before production
6. Copy-and-paste artwork brief
7. Frequently asked questions
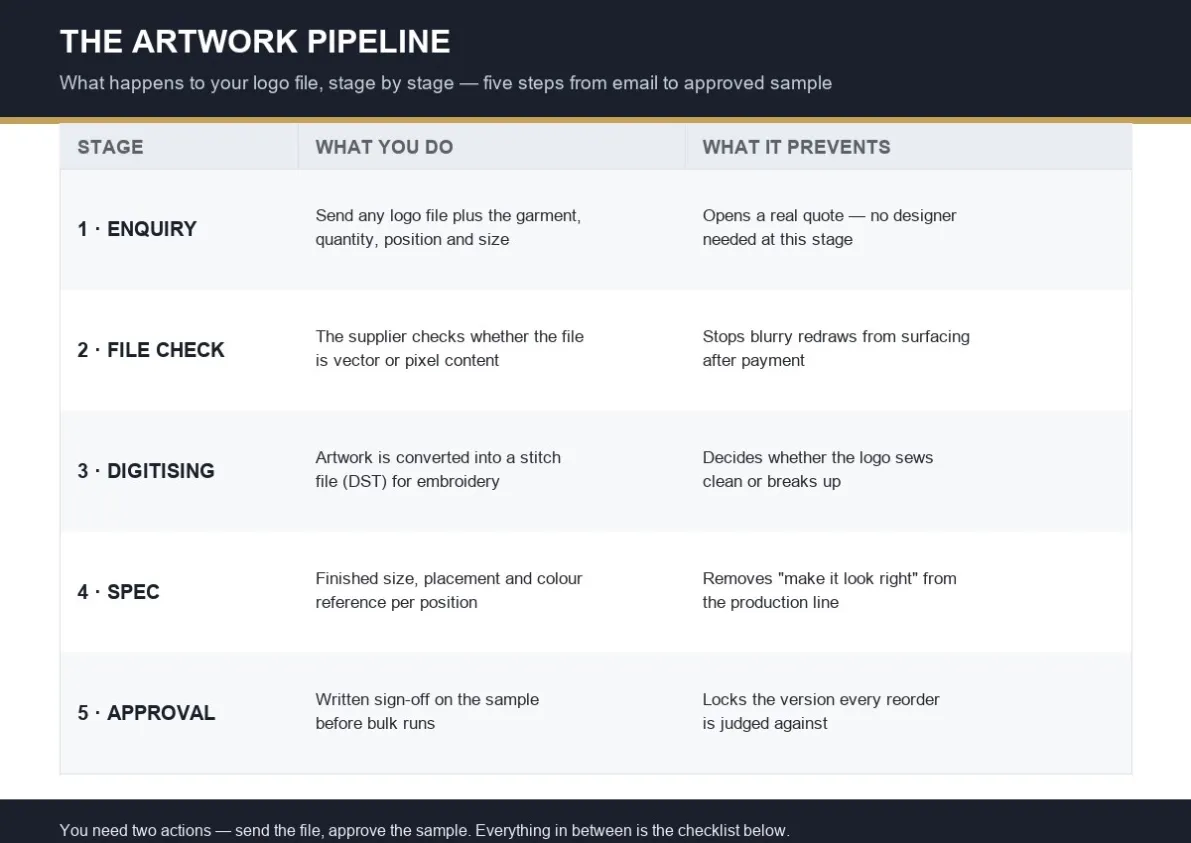
Tip: you do not need a designer to open the conversation. A clear photo of your logo, the garment you have in mind and a rough quantity is enough for a quote — the file cleanup is a production step, not an entry requirement.
1. What to send for an initial quote
Four inputs are enough to open a serious conversation:
• The garment and its use. Polo, hoodie or tee — and whether it is for staff, an event or retail.
• An estimated quantity and size range. A rough split is fine at this stage; exact quantities are confirmed later. Custom production runs start at 25 pieces per design.
• The logo file you already have. Any common format works for a first look — the next section explains what each type tells the supplier.
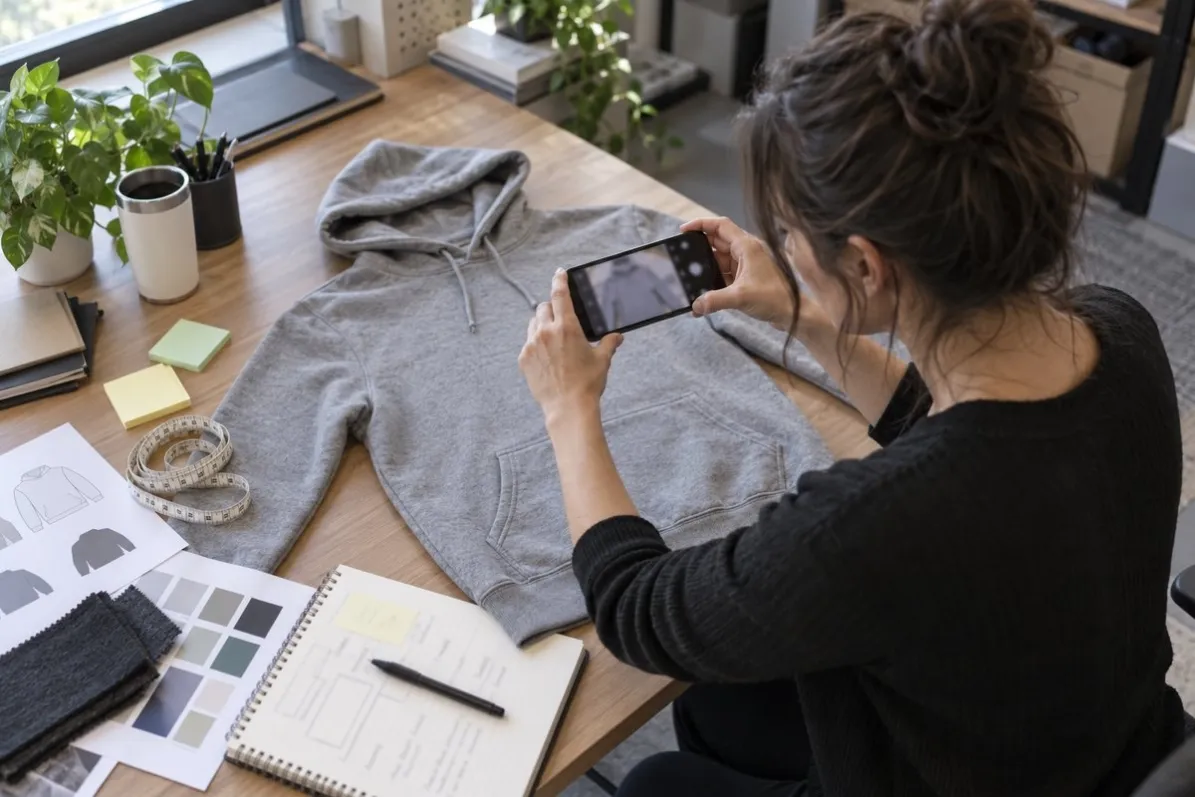
• Position and finished size. "Left chest, about 9 cm wide" is enough to quote decoration; exact measurements are settled at approval.
A colour reference and a target date help pricing too. If a file is missing or imperfect, say so in the enquiry — section 6 shows what to state instead.
2. Vector files, images and PDFs: what the supplier checks
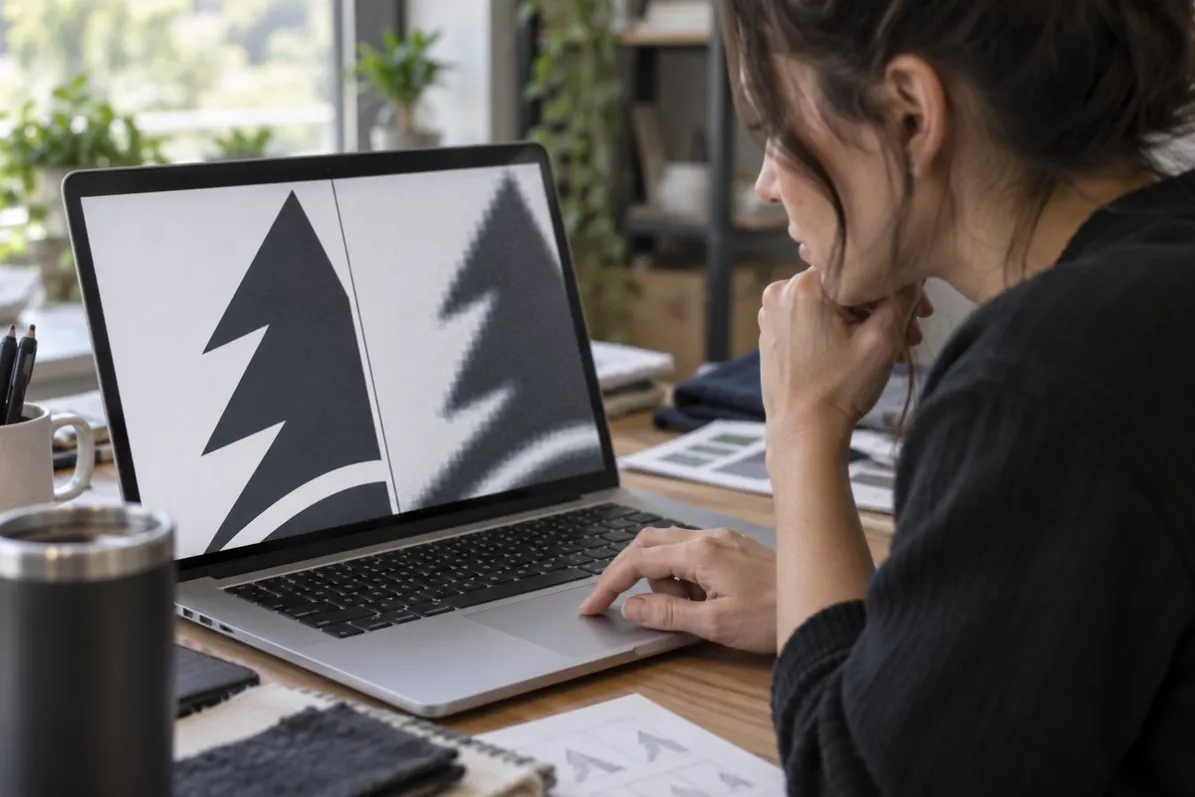
Vector artwork is built from shapes defined mathematically, so it stays sharp at any size — that is why it is the production standard. AI, EPS, SVG and PDF files can all carry vector content.
Images such as JPG and PNG are made of pixels. Used at or below their original size they can be perfectly serviceable; enlarged, edges soften and fine lettering breaks up.
The file extension does not tell you which one you have. A PDF can contain crisp vector drawing — or just a screenshot pasted onto a page. Saving a JPG as a PDF does not turn it into vector art. What matters is the actual content of the file, and the supplier checks that directly: whether text stays sharp when zoomed, whether edges are clean, whether colours separate.
If all you have is an image, send the largest version you have and say what it is. The supplier will confirm whether it works at your logo size and decoration method — or what a clean-up or redraw would involve. That answer belongs in the quote, not in a surprise after payment. For who owns the artwork once it is sent, and how it stays protected, see how logo rights are handled.
3. Why embroidery needs digitising
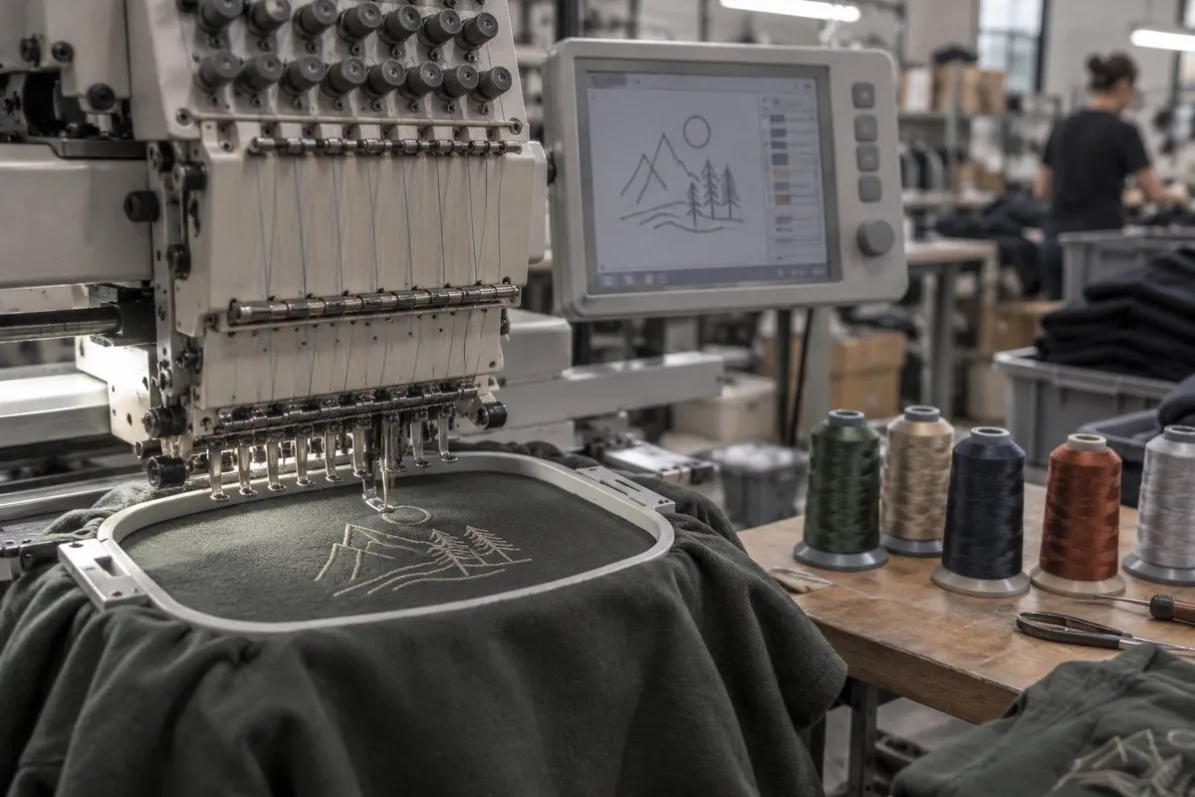
Embroidery machines do not read artwork files. Your logo is first converted into a stitch file — commonly a DST — that tells the machine where every stitch runs, in which direction, at what density. This conversion is called digitising, and it is a craft of its own: the same logo can sew cleanly or badly depending on it.
Two things first-time buyers should know:
• A DST is produced from your artwork, not instead of it. You cannot save a JPG "as a DST" any more than you can save a photo as a blueprint. You do not need to buy or prepare a machine file — the supplier arranges digitising from the artwork you send, and whether a one-time setup fee applies should appear in the written quote.
• Fine details sew differently than they print. Very thin lines and small lettering may need size adjustments to sew cleanly; the sample shows the true result. Lettering is the detail to double-check — a misspelled name on a finished garment can only be remade, not repaired.
Note: screen print and heat transfer do not use stitch files, but they set their own artwork demands — colour separations, resolution at final size, and colour count for screen print. Name your intended method in the brief, or write "please advise" and let the garment and logo decide.
4. How to specify logo size, placement and colour
• Size: give the finished width and height, per position. "10 cm wide on the left chest" is a production instruction; "make it look right" is not.
• Placement: name the position and attach a reference — a marked-up photo of a similar garment takes a minute and prevents most placement disagreements. Standard tolerance bands are explained in placement and tolerance.
• Colour: a Pantone reference is ideal. Without one, any reliable reference works — a hex code, a previous garment, a printed piece. Screen values such as RGB or CMYK communicate intent; thread and ink on fabric will not match a screen exactly, so the final colour call is confirmed on the physical sample, not on a monitor.
• Method: embroidery, screen print and heat transfer each carry different setup costs and a different look. State a preference, or ask for a recommendation.
None of these need to be perfect at enquiry stage. They need to be stated, so the quote reflects the order you actually want.
Tip: when in doubt on size, ask for a proportional proof. Suppliers can place your logo at the quoted width on a garment template and send it back for a visual check before anything is digitised.
5. What to approve before production
Between the first quote and bulk production, four things need your written approval:
1. The artwork as it will be produced — the exact file version, after any clean-up.
2. Colours — confirmed against physical references rather than screen values; how closely each method matches is a capability question covered in preview vs production.
3. Dimensions — the finished logo size for each position.
4. Placement — including any per-size differences you agreed.
This approval happens at the sample stage; the sampling checklist shows what to verify on the physical garment before signing. Approve in writing and keep the approved proof — then the reorder starts from your archive, not from anyone's memory.
6. Copy-and-paste artwork brief
Fill in what you know; leave the rest and say so. An enquiry with gaps beats a delayed one.
Garment / intended use:
Estimated quantity and size range:
Garment colour:
Logo file and version:
Logo position(s):
Requested finished width / height:
Placement reference or marked-up image:
Brand colour reference, if available:
Preferred decoration method, or "please advise":
Exact wording / names, if applicable:
Delivery country and postcode:
Required arrival date:
What still needs advice:
7. Frequently asked questions
Can I start an order with only a PNG?
Yes — for the enquiry. Whether that PNG can go straight to production depends on the logo size, the decoration method and how the file holds up at final size. Send the largest version you have; the supplier checks the actual content and tells you early whether a clean-up or redraw is needed, and what it would cost.
Do I need to buy a DST file before ordering embroidery?
No. The DST is a production file created from your artwork by the supplier's digitiser. You supply the design and approve the sewn result on the sample. Ask that any digitising setup fee be stated in the quote, so it is a known line rather than a surprise.
What if I don't have Pantone colour codes?
Send any colour reference you trust — a previous garment, a swatch, a hex code. Expect the final colour to be confirmed on a physical sample rather than promised from a screen; that confirmation step is what keeps bulk honest.
Is the logo the same size on every garment size?
Only if you say so. One finished logo size across the run is common; scaling per size band is also possible. State which you want in the brief, so it is quoted, sampled and approved that way.
Wrapping up: send what you have, approve what you see
The whole process comes down to two moments. First, send the file you already have — a quote does not require a perfect vector. Second, approve the produced result on a physical sample before bulk, because that is the version your reorder will be judged against. Everything between those moments is bookkeeping the supplier can manage.
Ready to start your artwork enquiry?
Request a Quote — paste the brief from section 6 into the message, list what is missing, and we come back with the decoration plan and a written quote. Or order the sample kit from $39 to feel the fabric and print quality before you commit.